Authentication
Set up Kinde to manage user authentication for Semaphor Self-Hosted Edition
📘 This guide walks you through creating a Kinde account to authenticate your organization's users who will be logging into the Semaphor console. Note: You don't need to configure your product's end users (who access embedded Semaphor dashboards) in Kinde - they are managed separately through your application.
What you'll set up
- A Kinde account and business
- A Kinde application for your product (Next.js example)
- Authentication methods for your users
- Environment variables to connect your app to Kinde
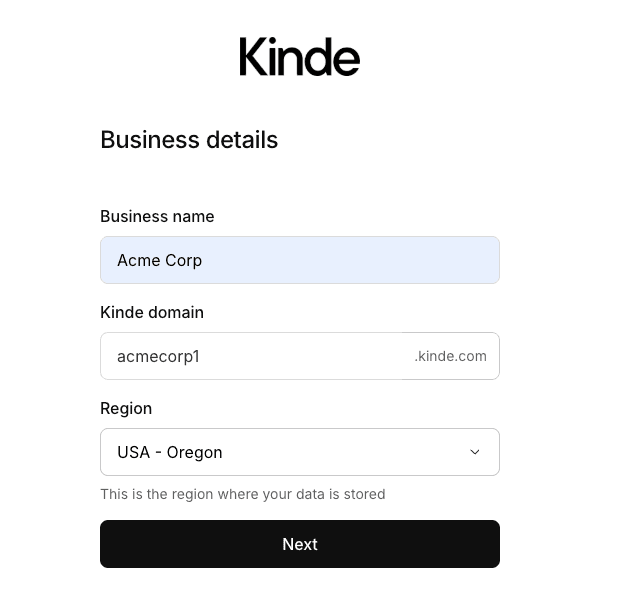
1) Create your Kinde account and business
- Go to kinde.com and sign up or sign in.
- Enter your Business details:
- Business name
- Kinde domain (subdomain)
- Region where your data will be stored
- When prompted, choose Start project from scratch.
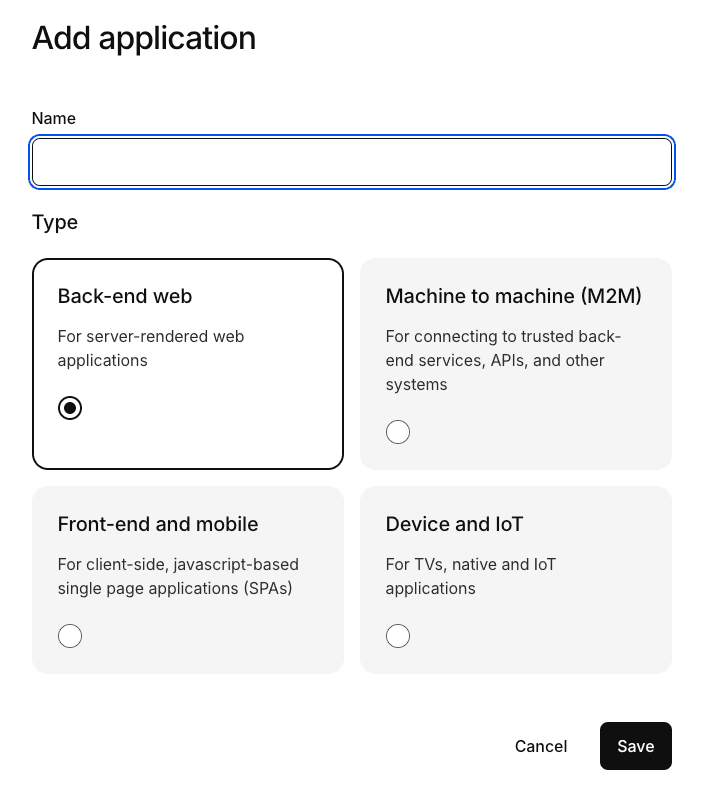
2) Create your application
- Make sure to select backend application.
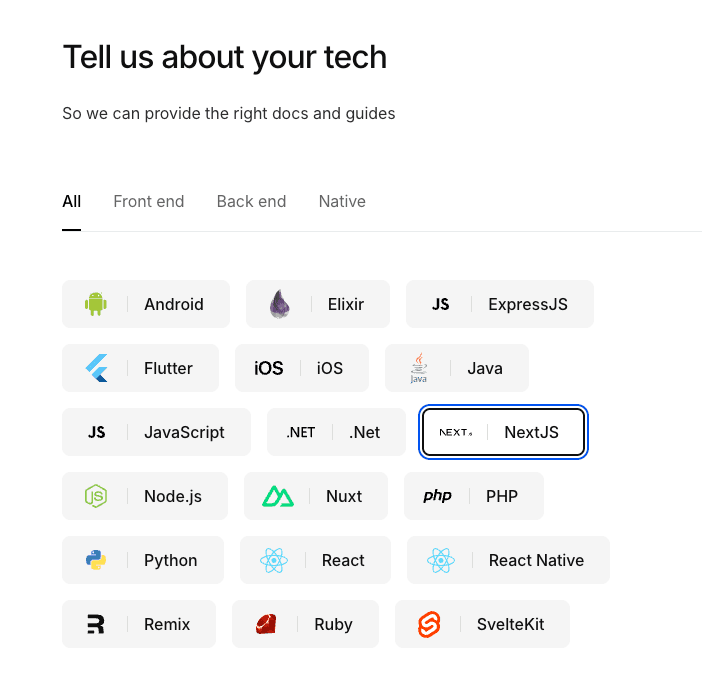
- Choose Next.js as your framework.
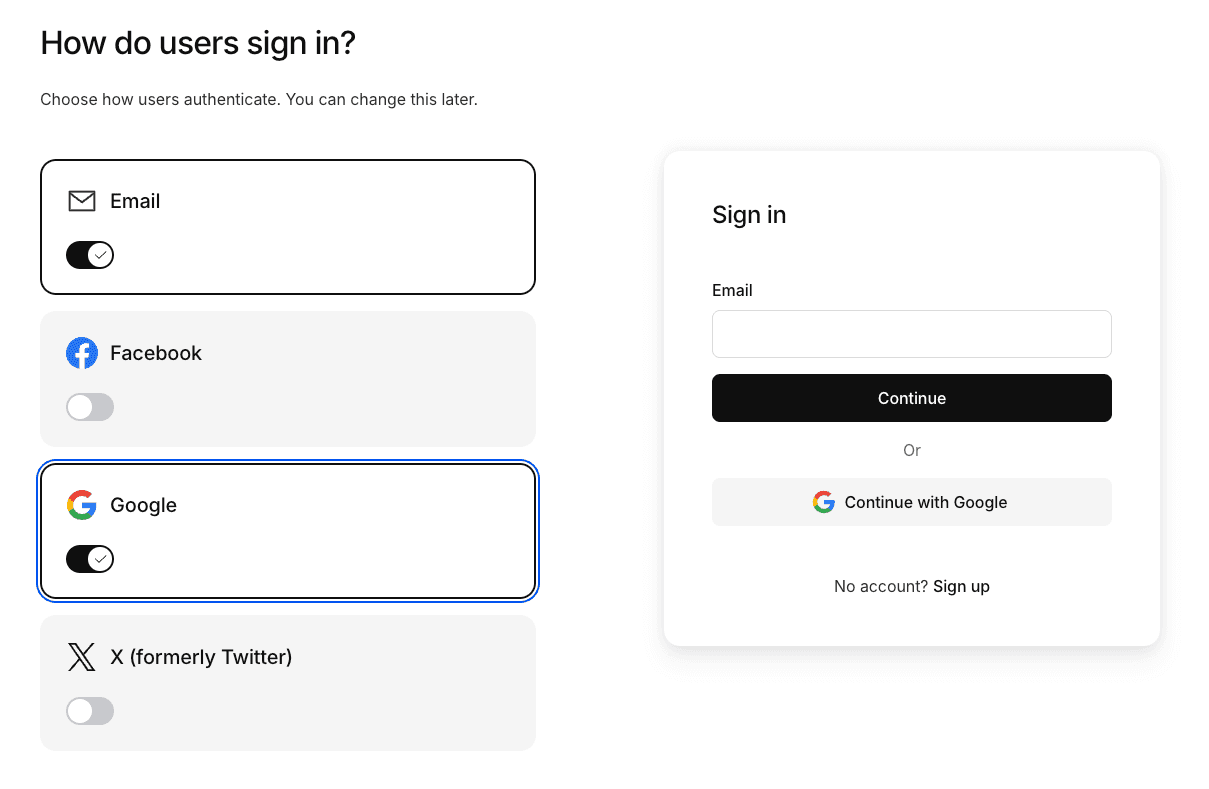
- Select the login options you want to offer to your users, such as email and password, social login.
- If asked to scaffold a new Next.js project, select "No thanks".
3) Set callback URL in your Kinde dashboard
After onboarding, you'll land on your Kinde home screen.
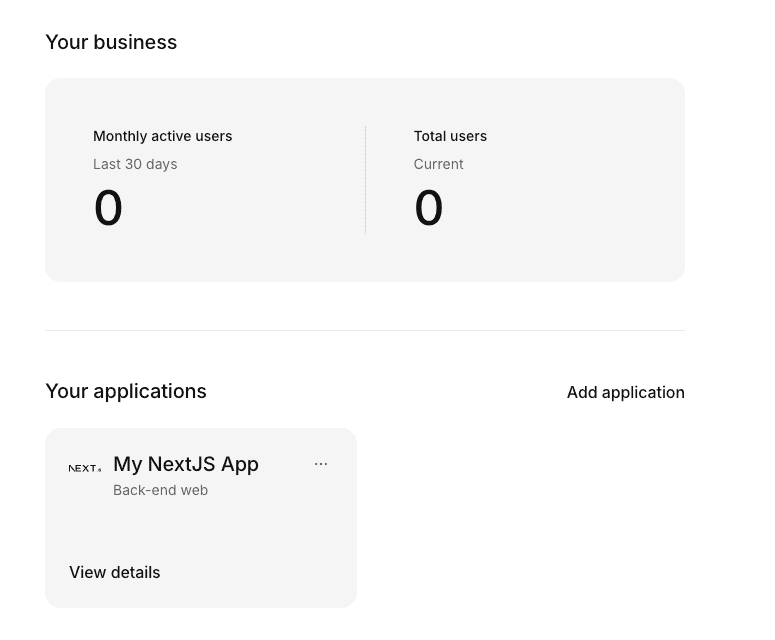
- Open your app by clicking View details on "My NextJs App".
- Navigate to the App keys section.
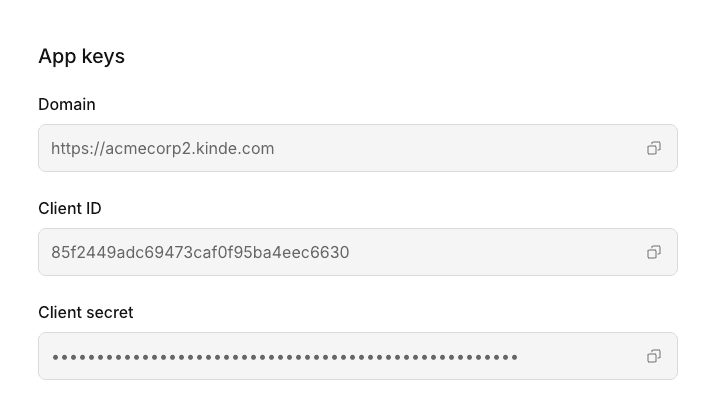
You'll need the following values:
- Client ID
- Client secret
- Issuer URL (your Kinde domain)
Set your callback URLs like shown below.
Note: You can use http://localhost:3000 for your local development. One important point with Kinde is that, except for localhost, the redirect URI must be HTTPS.

4) Configure environment variables in your app
Add the values from App keys to your application's environment.
KINDE_CLIENT_ID=<your_kinde_client_id>
KINDE_CLIENT_SECRET=<your_kinde_client_secret>
KINDE_ISSUER_URL=https://<your_kinde_subdomain>.kinde.com
For Next.js, place these in a .env.local file and restart your dev server.
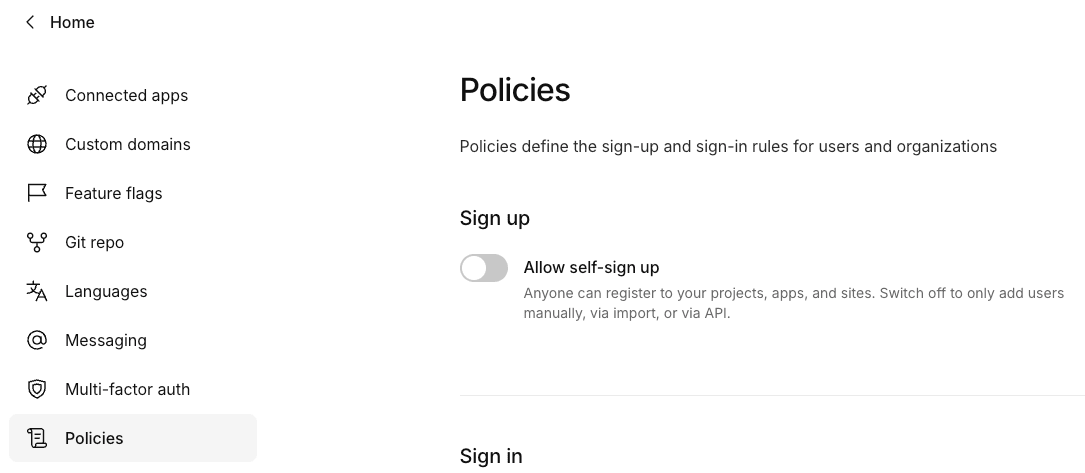
5) Disable self-sign up
To prevent unauthorized users from registering on your Semaphor instance, disable self-sign up in Kinde:
- In your Kinde dashboard, go to Settings > Policies.
- Under Sign up, make sure Allow self-sign up is toggled off.
This ensures that only users you explicitly add (manually, via import, or via API) can access your Semaphor instance.
6) How user provisioning works
- Kinde stores your organization's admin users who need access to the Semaphor console.
- When a team member signs in through Sempahor console, a user record is created or updated in your Kinde.
- Semaphor validates the ID token from Kinde to grant console access.
- Note: Your product's end users (who view embedded dashboards) authenticate through your application, not Kinde.